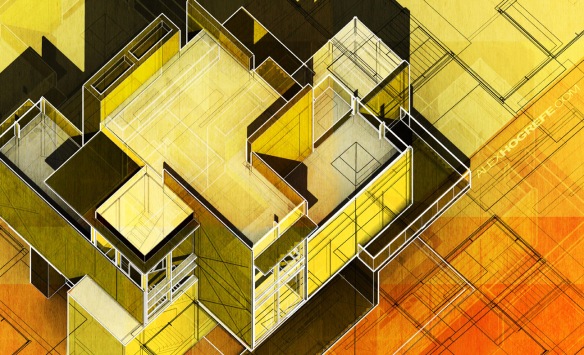
Today we are changing it up and checking out the tutorial blog of Alex Hogrefe, which was originally started to showcase his own work between professors at Miami University Ohio while working for his Masters. His tutorials are a great opportunity to learn presentation and new final design techniques before the new school year starts. Alex even has a YouTube channel full of tutorials for rendering using Kerkythea and post rendering techniques. Check it out after the jump!
SCHOOL: Miami University, Ohio
STUDENT: ALEX HOGREFE
SITE: www.alexhogrefe.com
YOUTUBE:
PLAN OBLIQUE ILLUSTRATION: PART 1
“I have been experimenting with some old-school plan oblique illustrations. This was one of the first 3-dimensional views I learned to draft by hand in school. What is great about these types of illustrations is that they can be used as scaled measured drawings in 3 axes. This is possible because the plan (x and y axis) is not distorted but is parallel to the viewing plane. The z axis is also drawn to true length meaning this can be measured as well. Sketchup cannot generate this view directly within the program. However, with a few tricks, a little geometry know-how, and Photoshop, it is possible to recreate the drawing. Overlaying textures and colors on top of this view can produce some really unique imagery that can set your stuff apart.

This first part will describe how to generate a true plan oblique view. Later posts will describe the methods I used to add color and texture.
1) First, create a square surface and then extrude it a little to create a cube. Then select all of the cube surfaces and create a group so that everything can be rotated easily.”
 \\\\CHECK OUT THE REST HERE
BRUSHED STAINLESS STEEL (TUTORIAL):

“Every so often, there comes a time when I need to illustrate a brushed stainless steel finish like the column in the above image. In my experience, adjusting the “shininess” settings in any rendering program to get that brushed look dramatically increases the rendering time. On top of that, it can take multiple test renderings to get the style I am hoping for. So… I created a work around. The process is simple, but powerful. The basic workflow involves rendering the material as a simple mirror reflection. Rendering as a mirror reflection adds almost no time to the total render time unlike adjusting the “shininess” settings. Once in Photoshop, I apply a motion blur and Gaussian blur to give it that soft, brushed stainless steel look.
Most rendering software can create reflective surfaces easily. For those of you who use Kerkythea, I have added some quick steps to show you how it’s done.
1) In Kerkythea, select the material you want to have the brushed finish. In the left panel, a star will highlight the material selected. Right-click on that material and choose “Edit Material”.
 \\\\CHECK OUT THE REST HERE
All Images and Text via www.alexhogrefe.com

